wallstreet patina

Showing posts with label recipe. Show all posts

Monday, August 24, 2015

Nutella Brownies-Is it really good?

I have been seeing this little movie/picture from various sources giving the recipe for Nutella Brownies, mostly on my feed on Facebook and on Pinterest.  Intriguing and sounds yummy.  Do they really turn out like they show in the pictures and more importantly, do they taste good?

First and foremost--- These brownies are a treat and Nutella is not healthy.  Don't eat the whole batch in one sitting like my husband did.  Well, okay, three quarters of the batch.  I don't have the calorie count for these.  Just say 'A LOT' or run it through a recipe calculator. 

Recipe:

1 and 1/4 cups of Nutella
1/2 Cup of flour
2 eggs

That's it!  Everyone has these things in their kitchens.  Brownies here we come!

Now, the pictures of the finished brownies showed this wonderful plate of thick brownies.  Given that I'm trying to lose weight, I didn't want a bunch of brownies tempting me, but I wanted to try this.  So I halved the recipe.


Mixed it up.....


Here's where it gets a little iffy...
In the movie they show them putting the batter into a cake pan.  So logically I thought that either a square pan or a teeny one and a half quart pan would be fine.  I had trouble getting the batter to cover the little one and a half qt pan, but I went with it.  'These are gonna be some really thin brownies,' I thought.  The ones on the video were so thick though!  Still went with it.
 
I baked it for 15 minutes at 350 degrees in my pan sprayed with Pam, and it came out yummy looking, although they did look thin.


Final Verdict:
 
These brownies are delish!  On the original example movie, to have them turn out so thick, they HAD to have doubled the batch or used a smaller cake pan, which it didn't look like it to me.  So either use the recipe above with the smaller pan, or double it with a bigger.  That's my only gripe.  Otherwise, the taste and method is on point.  Much better than boxed brownies. Much easier than making traditional from scratch.


Thumbs up!!!!

Thursday, April 2, 2015

The Eggs are coming!!

Easter + Small Kids = TONS of boiled and colored eggs...


Tomorrow the ceremonial coloring of the eggs will occur.  This has made me think about what in the world I'm going to do with them, as I have changed my evil eating ways.  I can cut one up with my salad, but that's boring.  I'll eat them just out of the fridge for some extra protein that couldn't hurt either...  but that's boring too!  So I started looking up some recipes and found these off the Eating Well website:

EatingWell Deviled Eggs

24 servings

Ingredients

  • 12 large hard-boiled eggs, peeled
  • 1/3 cup nonfat cottage cheese
  • 1/4 cup low-fat mayonnaise
  • 3 tablespoons minced fresh chives or scallion greens
  • 1 tablespoon sweet pickle relish (I'll use dill.  Not a fan of sweet pickles)
  • 2 teaspoons yellow mustard (I'm going to try Dijon)
  • 1/8 teaspoon salt (I'll skip the salt-again, not a fan)
  • Paprika for garnish

Preparation

  1. Halve eggs lengthwise with a sharp knife. Gently remove the yolks. Place 16 yolk halves in a food processor (discard the remaining 8 yolk halves). Add cottage cheese, mayonnaise, chives (or scallion greens), relish, mustard and salt; process until smooth.
  2. Spoon about 2 teaspoons yolk mixture into each egg white half. Sprinkle with paprika, if desired.

Tips & Notes

  • Make Ahead Tip: Cover and refrigerate for up to 1 day.            

Nutrition

Per serving: 34 calories; 2 g fat (1 g sat, 1 g mono); 71 mg cholesterol; 1 g carbohydrates; 0 g added sugars; 3 g protein; 0 g fiber; 85 mg sodium; 31 mg potassium.


Cobb Egg Salad

4 servings about 3/4C each

Ingredients


  • 3 tablespoons nonfat plain yogurt
  • 3 tablespoons low-fat mayonnaise
  • 1/4 teaspoon garlic powder
  • 1/4 teaspoon freshly ground pepper
  • 1/8 teaspoon salt
  • 8 hard-boiled eggs
  • 1 ripe avocado, cubed
  • 2 slices bacon, cooked and crumbled
  • 1/4 cup crumbled blue cheese

Preparation


  1. Combine yogurt, mayonnaise, garlic powder, pepper and salt in a medium bowl.
  2. Halve eggs and discard 4 of the yolks (or save for another use). Add whites and the remaining 4 yolks to the bowl and mash to desired consistency. Gently stir in avocado, bacon and blue cheese.

Tips & Notes

  • Make Ahead Tip: Cover and refrigerate for up to 2 days.           

Nutrition

Per serving: 257 calories; 18 g fat (5 g sat, 9 g mono); 200 mg cholesterol; 9 g carbohydrates; 0 g added sugars; 15 g protein; 3 g fiber; 515 mg sodium; 447 mg potassium.

This one is a little high in the fat and calories for me, but its just once a year, right?!?!  :)  Would you look at that protein....


There's many more recipes on there but those two interested me.  http://www.eatingwell.com/recipes_menus/recipe_slideshows/hard_boiled_egg_recipes


Sunday, March 11, 2012

Strawberry Preserves

I will never buy strawberry preserves at the store again.

I have never ever canned anything in my life and didn't want to invest in some of the fancy pants items they have specifically for canning, so I improvised with some things.  It all worked out in the end.  After doing this, I can see how those items would make life easier, and will probably invest in them in the future.  The biggest problem I have with that actually would be where to store them.  But I digress....

If you were scared like me to try something like this-don't be.  It was fun and relatively simple. The most time consuming thing was hulling the berries. 

Strawberry Preserves
  • 2 pounds strawberries
  • Juice of 2 big lemons
  • 4 cups of sugar
Makes eight - half pint jars

Get a pot of water simmering and put the jars in it.  Also, get a shallow pan simmering for the lids too.  I used a frying pan.


Hull the berries and slice.


Squeeze the lemons in a pan using a colander to catch the seeds.


Pour all the sugar in the pan with the lemon juice.  Cook them on medium heat until the sugar melts.  This happens really fast.  I was stirring and thinking it would never happen. One second it is grainy and the next its ready!


Now add the berries.  Keep them stirred and sorta mash them as you are stirring.  Cook this until it reaches 220 degrees.  Again, it seemed to take a while for it all to heat up, then 220 came real fast so watch out.  While this is going on, try and get the jars out of the simmering water.

Ladle into the jars, leaving a little bit of space for the preserves to expand and contract.  I did invest in a funnel and I'm glad I did.  There would have been a big old mess had I not.

After you have the jars filled, take a rubber spatula and go around the sides of the jars to release the air bubbles.

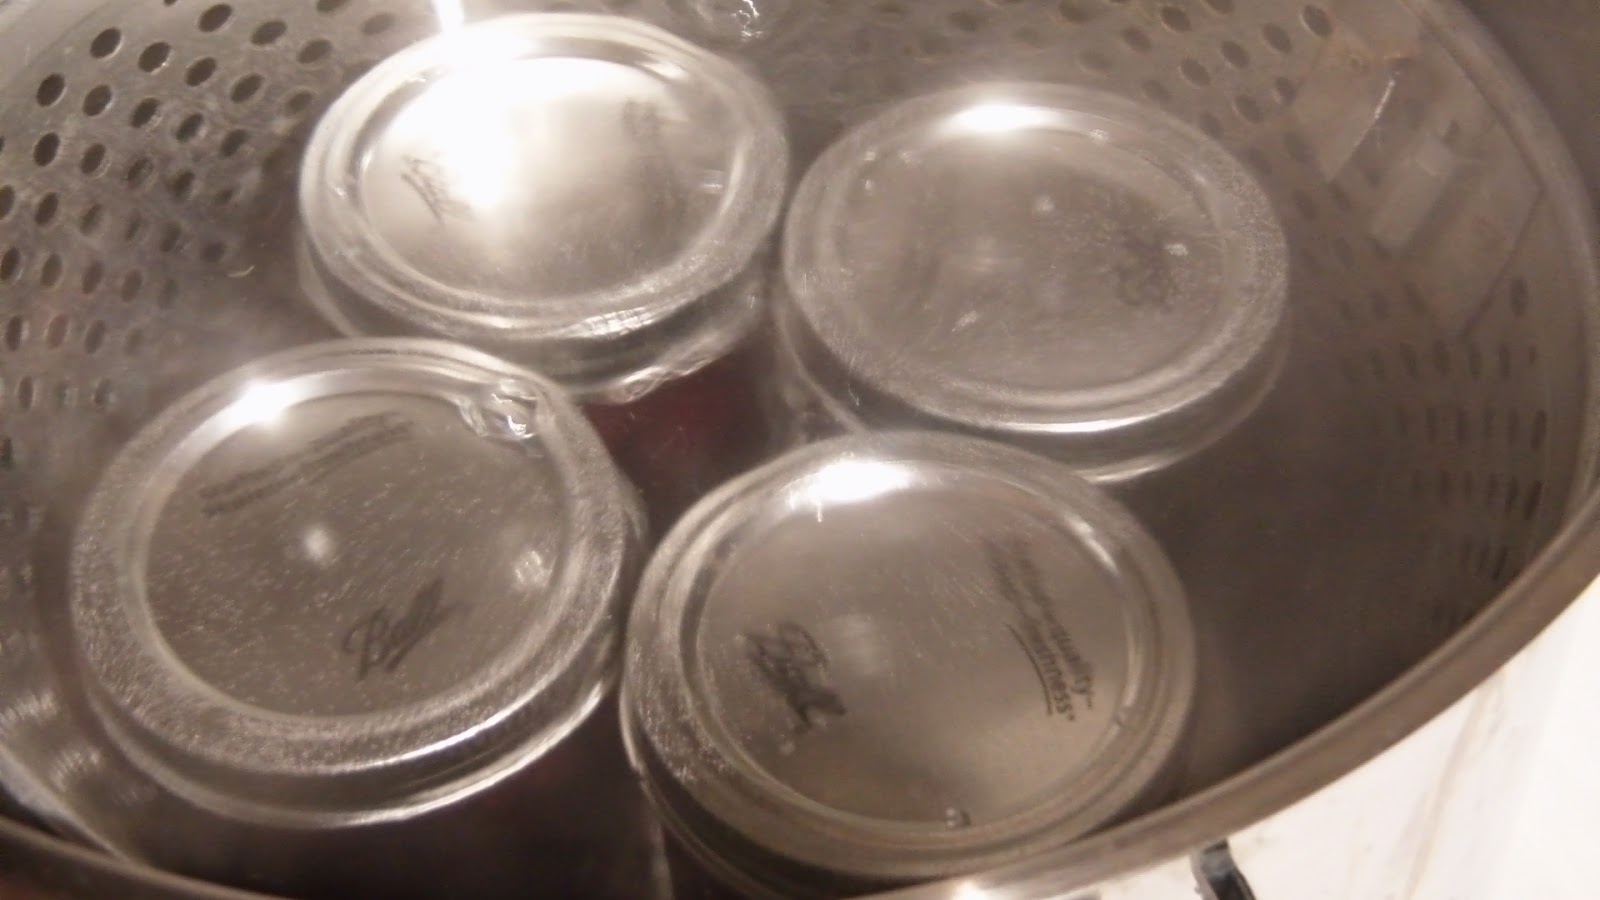
Put the lids and rings on and put them into the simmering pot.  Make sure the water level is about an inch above the jars.  Bring this up to a boil for 15 minutes.  Instead of one of those canning racks, I used a craw fish boil thing (I don't know the official name of this) to put the jars in so I could pull them out together.  I also used plastic coated high temperature gloves to handle them after processing.  Hooray for improvisation.

Pull the jars out and let them sit for about 12 hours.  Then screw the lids tighter and give them away or put them in the pantry for later.  They will be good for up to a year.  Enjoy!

Saturday, March 10, 2012

Oreo Balls

Everyone really likes these, especially my son.  He wanted them in lieu of a cake for his birthday!  I got the recipe from my mother-in-law.  The original recipe calls to dip the balls in white chocolate.  When I made these the first time, the store was out of white chocolate so I improvised with Vanilla Candy coating.  They turned out great!

Oreo Balls
  • Package of Oreos (store brand is fine)
  • 8 oz package of cream cheese, room temperature
  • 1 pound of vanilla candy coating
Pulverize all those cookies.  Turn them to cookie dust in the food processor.


Mix them up with the cream cheese.


Make them into little walnut sized balls and put them on a piece of wax paper on a cookie sheet.  Put them in the refrigerator for an hour. (this makes them easier to work with)
After an hour, melt your candy coating in a double boiler or the microwave and start dipping!  I find it helpful to use a small spoon and toothpick to dip these babies.

 
 Put them back on the waxed paper and stick them in the refrigerator again until they are set.  You could sprinkle things on them like nuts, coconut, or chocolate chips.  Or, get artsy with them and drizzle some dark chocolate over them to make them stripey.  My son likes them plain, so that's how I make them.


Sweet Strawberry Sauce for Shortcake

We went and picked a bunch of Strawberries and that made me want a Strawberry Shortcake.  I realized that I had never used fresh strawberries-I always used the frozen kind bought at the store and that is expensive.  So making my own sauce is tastier and cheaper!

Strawberry Sauce
  • 2 Quarts fresh strawberries, sliced
  • 1/2 cup white granulated sugar
Hull and slice the strawberries and then mix them with the sugar in a bowl.  Let it stand for 10 minutes, then stick in the refrigerator until ready.  The sugar mixes with the strawberry juice and it just gets yummier and yummier the more you let it sit.


I used angel food cake and cool whip to make my shortcakes...


You probably want to use this within 3 days.  I made a bunch up and put it in the freezer for later too.

Marvelous Meatloaf

Meatloaf.  I haven't ever met a child that likes it, yet most adults think of it as comfort food.  I was always on the fence about it.  The most off putting thing to me, and also Hubby as I found out, was the ketchup people always seem to slather on the top.  Ick.

This is my recipe that I have worked on and you can leave that bottle of Heinz in the fridge.

Marvelous Meatloaf
  • 2 pounds hamburger meat
  • 1 pouch of Lipton Onion Soup Mix
  • 1 14 ounce can diced Italian seasoned tomatoes, drained
  • 3 slices of bread (chopped)
  • 1 egg
Preheat your oven to 350 degrees.

Combine all the above ingredients, then put in a loaf pan. 


Bake for one hour.  Pull it out and drain the fat.  If the loaf looks 'juicy', bake for another 10 minutes.  If it looks firm, pull it out and serve.  Unless you like 'juicy' meatloaf, then have at it.

Wednesday, February 29, 2012

Tiramisu even I can make

I love Tiramisu and have always wanted to make my own, but it always seemed so time intensive.  I came across this recipe while flipping through a magazine.  I'm not completely sure, but I think it is an ad for Cool Whip-so I'll just credit Kraft foods with this recipe.


Tiramisu Bowl

  • 1 pkg cream cheese, softened
  • 3 cups cold milk
  • 2 (3.4 oz) vanilla instant pudding
  • 8 oz tub cool whip
  • 48 vanilla wafers
  • 1/2 cup coffee, divided
  • 2 squares baker's semi sweet chocolate, grated
  • 1 cup fresh raspberries

 Beat cream cheese in mixer until creamy.  Gradually beat in milk and pudding mixes.  Stir in 2 cups cool whip.


Line 2 1/2 qt. bowl with 24 wafers.  (I didn't count-I just put  layer of cookies down) Drizzle with 1/4 cup of coffee.


Top with half the pudding mixture and half the chocolate.  Repeat layers, starting with wafers.

 Top with remaining cool whip and raspberries.  refrigerate for 2 hours.


Monday, February 20, 2012

Fabulous Frito Pie

One of Hubby's favorite dinners is Frito Pie.  You'll need a bag of Fritos and some good chili.  After some trial and error, I have perfected my chili recipe.  It seems like a lot of ingredients, but putting it all together is quick!


Chili

Ingredients:
  • 1.5 lbs ground hamburger or turkey meat
  • 4-5 ribs celery, chopped (optional-I stick veggies in for the little ones)
  • 2-3 chopped carrots (optional-just for extra veggies)
  • 1 onion, chopped
  • 1 bell pepper, chopped
  • 2 cups water (or less depending on how soupy you like your chili)
  • 14 oz diced tomatoes
  • can of Rotel
  • 6 oz can of tomato paste
  • can of kidney beans, drained, rinsed, and smashed
  • 1 Tbl minced garlic
  • 2 Tbl chili powder
  • 1/2 tsp paprika
  • 1/2 tsp dry oregano
  • 1/2 tsp cayenne pepper (this is what makes the chili hot-add more or less to your taste)
  • 1/2 tsp cumin
  • 1/2 tsp salt
  • 1/2 tsp black pepper
 Cook the meat and veggies


After the meat is browned, throw all the ingredients into a crock pot


Leave it in the crock pot on low for about 3-4 hours.  You can also speed things up and simmer it for 30 minutes on the stove.

Put the chili over a bed of Fritos and in a bowl and top with cheddar cheese.

Monday, February 13, 2012

Homemade Gourmet - Simply Simmer Cacciatore

I am still trying to use all this Homemade Gourmet stuff I have in the pantry.  This mix came with a steamer bag, but I didn't use it.  I threw everything into the crock pot.


Ingredients:
  • 1 Homemade Gourmet® Simply Simmer Cacciatore Mix
  • 1 15-ounce can stewed tomatoes
  • 1 1/2 pounds boneless, skinless chicken tenderloins or chicken breasts cut into strips (fresh or frozen)
  • Pasta of choice, prepared according to package instructions
  • Shredded Parmesan cheese, optional
  • I add in an onion and a bell pepper


    1. Place mix and tomatoes into crock pot; stir to combine.
    2. Add chicken and stir until all pieces are coated.
    3. Cook on high 4 hours or low 6 hours.
    4. Pour chicken over pasta and serve warm. Garnish with shredded Parmesan as desired.


    I also added about 2 cups of leftover cooked broccoli and carrots right before serving.

    This is my favorite Homemade Gourmet dinner.  I am often put off by the saltiness of these mixes, but this one is just right. 


    Em loved it!

Sunday, February 5, 2012

Let's Make Some Monkey Bread

I was flipping through the recent People Magazine and see what looks to be a yummy cake pictured.  This of course piqued my interest.  It is called Monkey Bread.  I have heard of monkey bread, but I don't think I have had it before and I wasn't sure what it was.  Apparently, a celebrity named Hillary Scott makes it.  I have no idea who she is (upon further reading I see she is the singer for Lady Antebellum), but she makes a delicious cake!

Monkey Bread

Ingredients:

  • 4 (7.5 oz) cans refrigerated biscuits
  • 2 cups sugar, divided
  • 3 tbsp cinnamon, divided
  • 1 1/2 sticks butter

Preheat oven to 350.

Combine 1 cup sugar and 2 tbsp cinnamon in a Ziploc bag. Then cut the biscuits into quarters, put them in the bag and shake until all they are all coated.  (I threw in 4 mini boxes of raisins.  Walnuts or pecans would probably be good too, but Hubby doesn't care for them.)


 Transfer biscuits to greased 12 inch bundt pan.


 Melt the butter and one cup sugar and one tbsp cinnamon.


Bring it to boiling then pour it over the biscuits.  Bake until the biscuits are puffed and the liquid is caramelized, 35-40 minutes.

Cool it completely then invert onto a plate, allowing people to pull apart. 


Sunday, January 29, 2012

Easy Crockpot Lasagna

This lasagna is so easy to make and it doesn't take all day to cook.

You will need:
  • Pam cooking spray
  • 26 oz Pasta Sauce
  • 3/4 cup water
  • 15 oz Ricotta Cheese
  • 1/2 - 1 cup of shredded carrots
  • 6 Regular Lasagna Noodles
  • 1 1/2 cups mozzarella cheese

You spray some Pam in your crock pot.  I use the smaller 4 quart pot.


In a microwave safe bowl, mix the jar of sauce and the water together and microwave on high for 3 minutes.  Cover with a paper towel, as it might splatter.


While that is heating up, mix together the ricotta and the carrots (I used carrots, broccoli, and cauliflower).


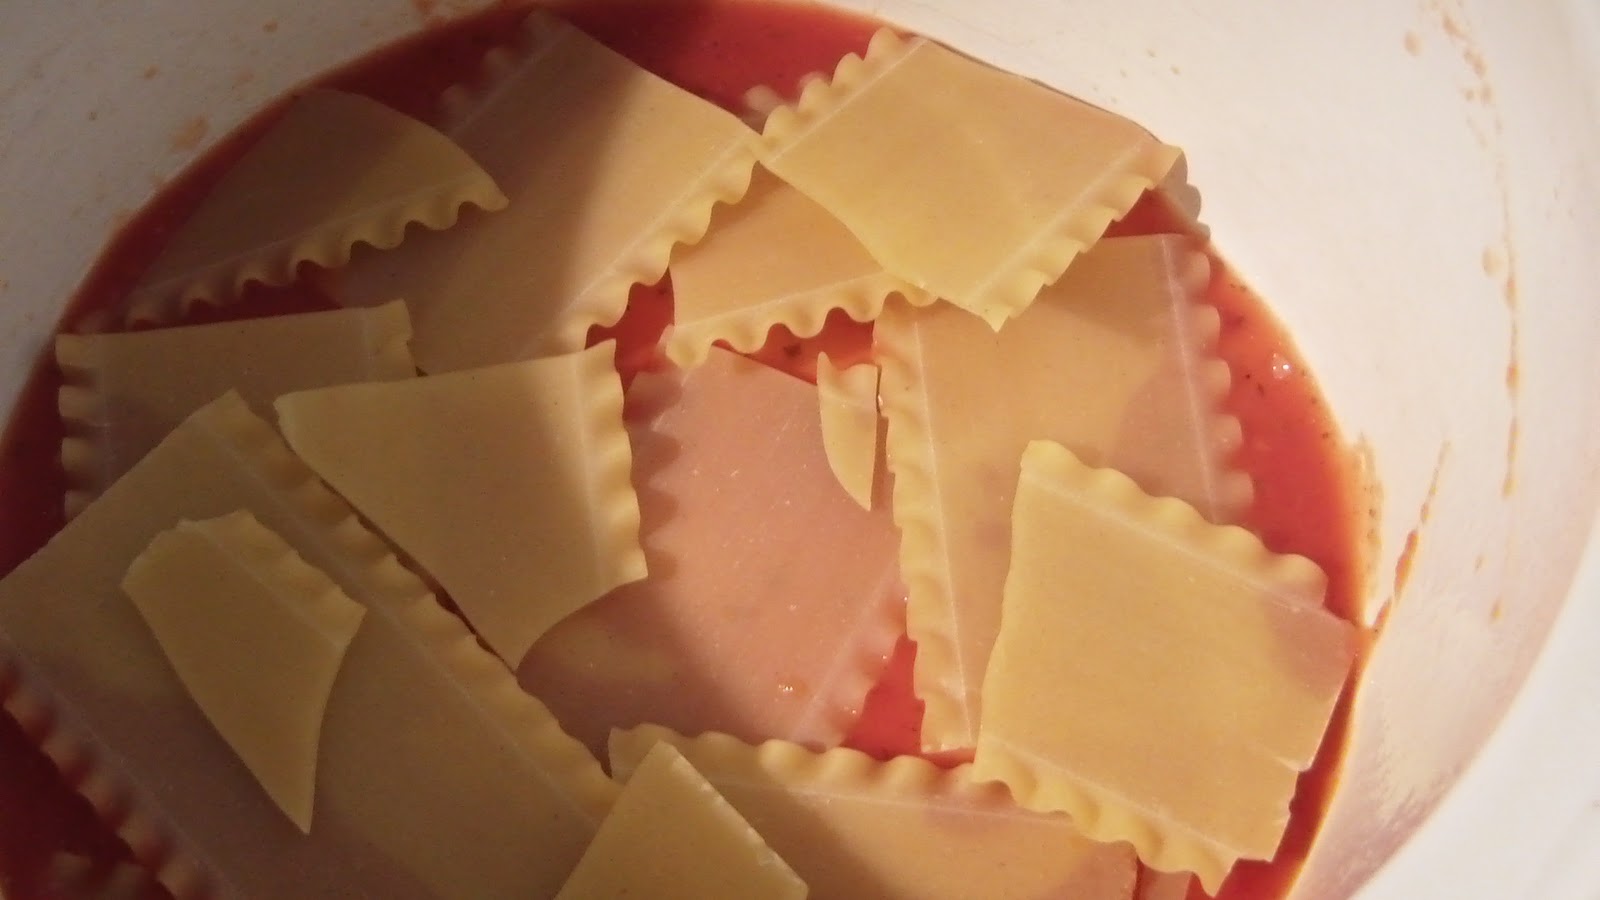
Spoon 1/2 cup of the sauce in the crock pot.  Break 3 of the noodles and arrange them over the sauce.


Spoon half of the ricotta mixture over the noodles.


Continue layering in the following order:
  • 1/2 cup mozzarella
  • half the remaining sauce
  • remaining noodles (breaking them to fit)
  • remaining ricotta mixture
  • 1/2 mozzarella
  • rest of the sauce
  • rest of the mozzarella
Cover and cook on low for 3-4 hours, or until the noodles are how you like them.  For easier serving, you can pull the crock part out of the liner and let it sit covered for about 20 minutes. 


Sunday, January 22, 2012

Yeah, we pop almost daily...

We go through a lot of popcorn.  Everyone in our house loves it!  Buying the microwave popcorn is very costly and I couldn't tell you what is in the junk that I feel squishing in the bag.  Having an Aspie child with food sensitivity, I think a LOT about what he eats and try to make the things he will eat without a fight as healthy as possible.  I'm also a little lazy.  I don't like to clean a popcorn popper and I like the convenience of just sticking a bag in the microwave.  In an effort to save some money and still be lazy, we have a way of popping corn that makes us all happy.

You take a paper lunch bag and a 1/2 cup of popcorn kernels.


Then you can add a tablespoon or two of olive or veggie oil, but I don't.  I just fold over the top of the bag and put it in the microwave.


After 2 minutes and 45 seconds (I have an old 700 watt microwave-so it might take yours a shorter amount of time-just listen for the pops to slow to prevent scorching) you have a lovely popped treat!


Here's the fun part...  toppings!  You can use salt, butter, garlic powder, cheese, mix some raisins or cranberries in, peanuts...anything goes.  We use Kernel Season's Popcorn Seasoning and Parkay butter spray.


The spray makes it so the salt stuff will stay on the popcorn, yet not add all the calories that a bunch of melted butter and oil would.  We also like the popcorn seasoning because it is like a powder and just works better than table salt.